3. Installation
3.1. Obtain the Vortex Platform installation file
Check that the file that you have obtained (by downloading or other method) is the appropriate one for your system. The name of the file indicates the target platform as well as the Vortex Platform version.
Example installer file names:
VortexPlatform_v2-linux-x32-installer.run
VortexPlatform_v2-linux-x64-installer.run
VortexPlatform_v2-windows-x32-installer.exe
VortexPlatform_v2-windows-x64-installer.exe
(It is possible to install a 32-bit version of Vortex on a 64-bit system, but for the best performance you should install the 64-bit version.)
 If you wish to install on another system other than windows or linux,
then you can obtain an archive file from ADLINK and unzip that
instead of the installer.
If you wish to install on another system other than windows or linux,
then you can obtain an archive file from ADLINK and unzip that
instead of the installer.
3.2. Run the Vortex Platform Setup Wizard
3.2.1. Start the installer
Navigate to the directory which contains the Vortex installer file.
If you are using a GUI, you can usually just double-click on the installer to run it.
If you are using a console (‘command line’), enter the appropriate
command for your platform. (On most versions of Windows and Linux
this means typing the file name, excluding the .exe or .run
extension, and pressing the <Enter> key.)


Once it starts, the operation of the installer is the same on both Windows and Linux platforms; the example screens shown in the following steps are from a Windows system.
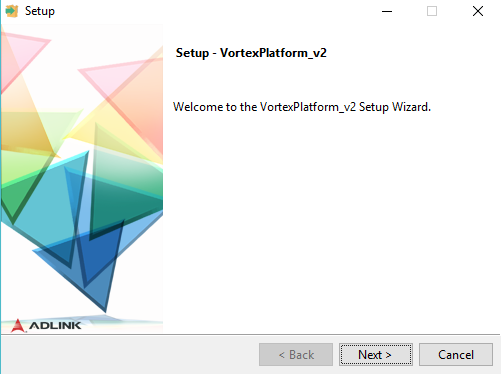
The Vortex installer splash screen appears briefly before the Setup Wizard ‘Welcome’ screen is displayed.
3.2.3. Accept the License Agreement
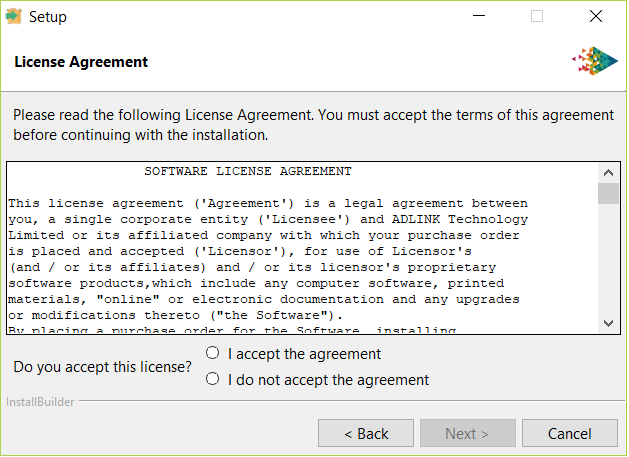
Figure 2 Accept the License Agreement
If you do not accept the terms of the license, the installation is cancelled.
Click Next.
3.2.4. Choose a location for the Vortex Platform installation
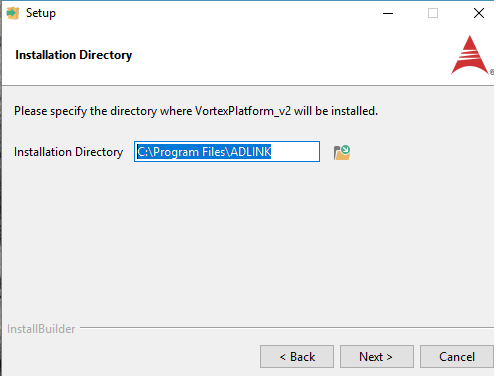
Figure 3 Choose a location for the Vortex Platform installation
You can either accept the default destination directory or choose a different location by typing its path or by navigating to it using the ‘browse’ button.
On Windows, the default installation directory (shown in Figure 3) is:
C:\Program Files\ADLINK
(For this example, the Vortex Platform will be installed in
C:\apps\ADLINK.)
On Linux, the default installation directory is:
/home/<user>/ADLINK
Click Next.
3.2.5. Choose which components to install
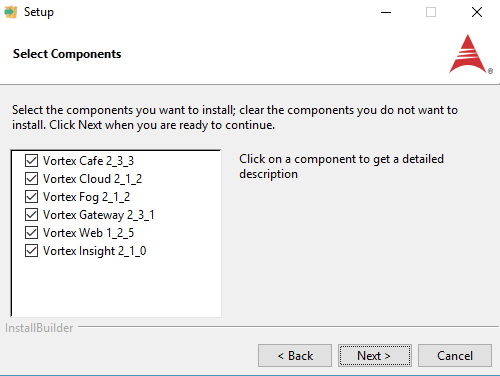
Figure 4 Choose which components to install
Click on a component name to display a description of the component.
All Vortex Platform components are selected for installation by default.
If any Vortex Platform components are already installed in the location chosen at Choose a location for the Vortex Platform installation, their names are greyed-out and they cannot be de-selected. (To remove Vortex Platform components from your system, use the uninstaller described in the Uninstallation chapter Uninstalling Vortex Platform).
Click Next.
3.2.6. Enter the location of your license file
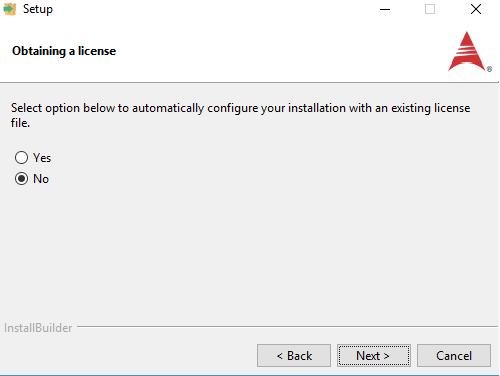
Figure 5 Indicate location of existing license file (1)
If you do not yet have a license file, leave No selected (the default) and click Next. You will have to obtain a license file and install it manually according to the instructions in the separate Vortex Licensing Guide before you can run Vortex.
If you already have a license file, choose Yes; the Setup Wizard
will then perform the necessary configuration steps automatically.
Information about these changes is saved in the etc directory where
Vortex is installed (C:\apps\ADLINK in this
example).
Click Next.
If you chose Yes, a dialog appears where you can enter the path to your license file, or use a browse button to navigate to it; otherwise the Setup Wizard proceeds to the next step.
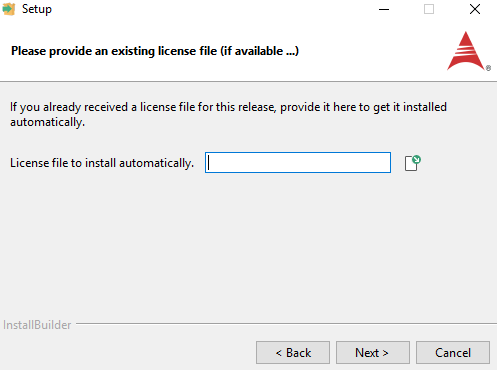
Figure 6 Indicate location of existing license file (2)
3.2.7. Install for current or all users?
WINDOWS ONLY
On Windows platforms, you can choose whether to install Vortex for all users or only for the current logged-in user.
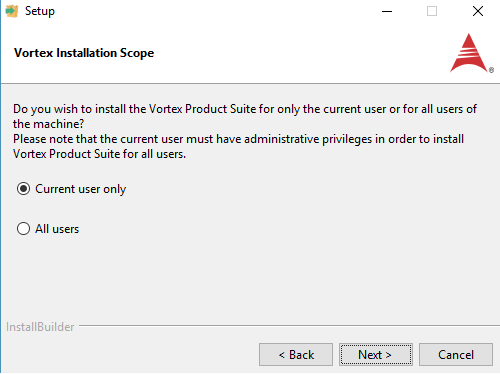
Figure 7 Install for current or all Windows users
The default is for Vortex to be installed only for the current user.
If Vortex is to be made available to all users, then the current user (performing the installation) must have Administrator privileges.
Click Next.
3.2.8. Begin installation
The Setup Wizard is now ready to begin the actual installation.
If you want to review or change any of the choices or entries you have made, you can use the Back and Next buttons until you return to this screen.
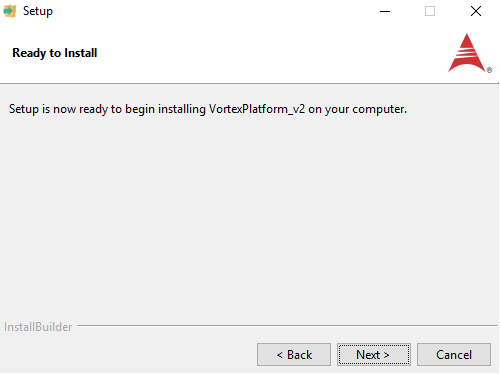
Figure 8 Proceed or Cancel installation
Click Next to proceed and install Vortex on your system.
Click Cancel if you decide to abandon the installation. No changes will be made to your system, and any information you have entered will be lost. You will have to run the installer again if you decide to install Vortex later.
3.2.9. Wait whilst installation proceeds
The Setup Wizard displays a progress bar and a slideshow describing the Vortex Suite components whilst files are installed on your system.

Figure 9 Progress of installation process
If you click the Cancel button during this phase, then you may be left with a partial installation. For those Vortex components installed you will have an uninstaller that can be invoked to remove it.
3.2.10. Installation completed
When all of the necessary files have been installed and the Vortex components have been configured, the Setup Wizard displays a final dialog.

Figure 10 Finish the Setup Wizard
If you leave the option to View Vortex Documentation checked, when you click Finish the Setup Wizard will use your default web browser to display ‘Quick Start’ instructions.
Documentation for the components of the Vortex Platform is installed
in docs directories within the individual component directories. For
example, on the Windows system used to illustrate the steps above,
the documentation for Vortex Insight is installed in
C:\apps\ADLINK\Vortex_v2\Tools\VortexInsight\1.2.0\docs.
